


Nana Mary’s Irish ox tongue and mash
“My Nana, Mary Crowley, comes from a little village called Ballyhooly in county Cork. She used to run a little pub and look after eleven kids, which is completely incredible.”
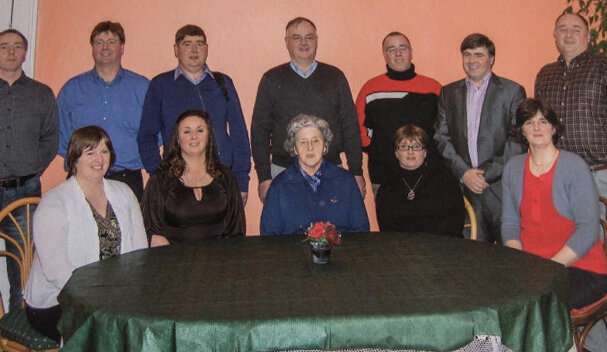
Nana Mary, centre
“My Nana, Mary Crowley, comes from a little village called Ballyhooly in county Cork. She used to run a little pub and look after eleven kids, which is completely incredible. Feeding the family would always be her biggest concern. She is still the head of the family at the age of 84, after proudly raising 4 daughters and 7 sons.
Growing up in Belgium I would visit my granny’s house once or twice a year only, but I still remember the smell of freshly baked scones or the fry that would be on in the morning, with tea on the stove.
A traditional home cooked meal would be boiled tongue, with boiled vegetables and mashed potatoes. It was something that would warm up the whole house, after a rainy afternoon. Simple but yet very efficient to feed a whole family full of young, energetic growing kids. It is a dish that I would now cook myself, to remind me of the tradition and the way we were eating back then.
Chef Killian Crowley, Ireland
Feeds 4
Ingredients
2 ox tongues
4 carrots
2 leeks
1 celeriac
1 swede
3l chicken stock
10g juniper berries
For the mash
6 rooster potatoes
200g butter
400ml milk
100ml cream
Nutmeg
Method
Boiled ox tongue
In a big pot put the ox tongue and chicken stock, bring it to the boil very slowly.
While the pot reaches temperature, chop the vegetables into very big chunks.
Add them to the boiling pot, with the juniper
Leave it on a really low heat and let it seam for about 6 hours.
Mashed potatoes
Peel and cook the potatoes in boiling water.
Once cooked, mash the potatoes and add warm milk and melted butter.
Work it with a wooden spoon to get the best texture.
Season with a little salt and sprinkle of nutmeg.

Grandma Fenya’s Crucian Carp Borsch
“It’s at our grandparents where we can enjoy doing nothing and dreaming away. Every day at my grandmas we would have a delicious breakfast - with cocoa, pancakes or freshly baked pies.”

“Grandparents are a special love for every kid. We all love our parents madly, but often, for our own good, they are way too demanding of us. And it’s at our grandparents where we can enjoy doing nothing and dreaming away. Every day at my grandmas we would have a delicious breakfast - with cocoa, pancakes or freshly baked pies. At lunch we would all get together at one table, because grandparents didn’t have to be at work all day long by then. At night, too, my grandma would always cook something incredible for us.
My grandma Fenya had survived the war times. While she was just a little girl she would run the whole household. At the age of 15 she was sent to timber cutting where she tried her first ‘foreign’ dish - turtle soup. They would catch them in waters and this helped them to survive the starvation.
After the war my grandma started to work as a cook and after a while all the city heads would only come to her for their dinner parties. She was running a big company with lots of employees. At home she always supported my first steps in gastronomy and she taught me everything she knew.
The recipe of borsch with crucian carps comes from her family. That was the way that her ancestors - Kuban Cossacs - would cook it. This recipe helped me win ‘The best borsch’ competition and later became on the best-sellers at the White Rabbit. I’m incredibly happy to know that my grandmother’s recipe will travel the world even further. I love her forever.”
Chef Vladimir Mukhin, Russia
Feeds 4
There are 3 components to this dish: fried crucian carp, borsch and sour cream. To make the borsch you make the vegetable liaison and the colourant individually and then combine with the chicken broth.
For the borsch vegetable liaison
Ingredients
600g beetroot, peeled and julienned
150g carrot, peeled and julienned
1 onion, sliced into crescents
1 tbsp table vinegar
Salt and sugar
250g tomato paste
2 bay leaves
Method
Heat 1 tbsp olive oil into a large pan and brown the onion.
Next add the carrot and a few minutes later the beetroot.
Then add the vinegar, so that the beetroot doesn’t lose the colour. Add a sprinkle of salt and sugar.
Add tomato paste and the bay leaves when the vegetables are half cooked.
Lower the heat, saute vegetables with tomato paste until ready, stirring from time to time. It’s ready when the vegetables are cooked but with a little crunch.
For the colourant (to give the borsch a rich colour)
Ingredients
Beetroot offcuts
2 tbsp table vinegar
1 tbsp sugar
Method
Put all the cuttings from the beetroot in a pan and just cover with hot water.
Add 1 tbsp sugar and 2 tbsp vinegar and heat until JUST starting to boil.
Take off the heat immediately and let infuse in a covered pot for 20-30 minutes.
For the borsch
Ingredients
50g pickled cabbage (sauerkraut)
400g white cabbage, quartered with the stem cut away and then cut into thin strips about 5-6cm long
½ garlic clove, finely diced
2.5l chicken stock (or homemade chicken broth ideally)
100g sweet bell pepper, sprinkled with olive oil, baked at 180°C for 20 minutes and then peeled and cut into fine slices
35g pinto beans, soaked for 1 hour in cold water then boiled until soft
For the carp
4 fillets carp (ideally crucian)
Flour
Method - putting it all together
In a large frying pan, add a knob of butter and saute the pickled cabbage for a few minutes
Add the white cabbage and garlic and saute together for a few minutes
In another big pan, heat the chicken stock until boiling (if using broth, sieve it in)
Add fresh cabbage, boil until almost cooked
Add the vegetable liaison, bell pepper and beans
Lower the heat. Don’t boil so the colour doesn’t fade!
When ready add the colourant and salt and pepper to taste.
Now take the fish fillets, making sure there are no bones.
Cover with flour and a sprinkle of salt on the skin side and grill with olive oil to get crispy.
Put some borscht in a dish, a piece of crispy fish on top and serve with sour cream and fresh herbs (dill or parsley)

Nain Gwyneth's Welsh Lobscows with Laverbread from Tomos Parry
“Lobscows is a traditional Welsh hearty dish made with meat and any vegetables available. There are many versions of this recipe, often handed down through the family and vary from town to town throughout Wales.”
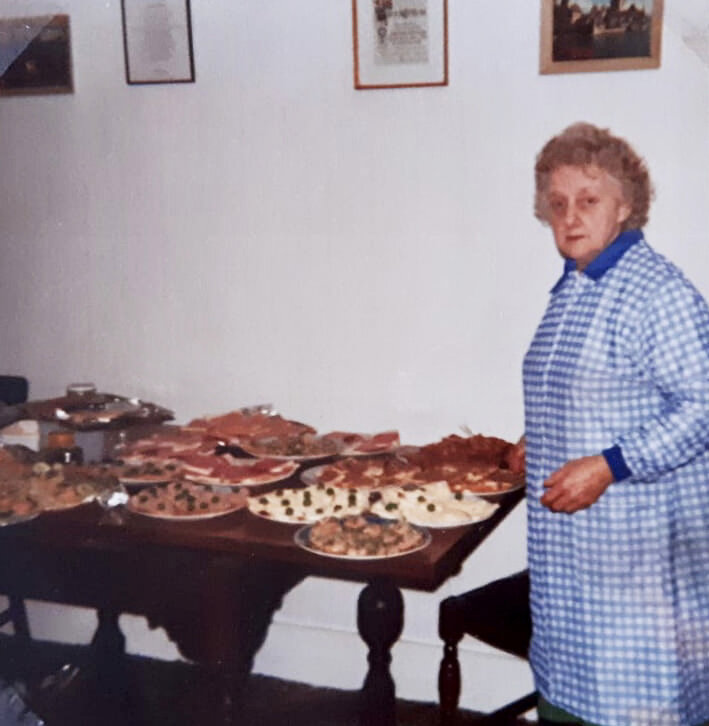
Gwyneth Parry, at home in Beaumaris, Anglesey (North Wales)
“Lobscows is a traditional Welsh hearty dish made with meat and any vegetables available. There are many versions of this recipe, often handed down through the family and vary from town to town throughout Wales. The dish is also known as ‘cawl’ in some areas of the country.
It is often better the day after, when all the flavours have developed. It is sometimes served in a wooden bowl and eaten with a wooden spoon with chunks of homemade bread and Welsh cheese. My grandmother (‘Nain’ in Welsh) and granddad (‘Taid’) used to leave a pot on the stove and we would help ourselves after coming home from school.
Here I have made a slight variation of it, by serving with a very traditional welsh ingredient - Laverbread, which my grandmother used to love. Laverbread is stewed seaweed which is served with cockles and bacon for breakfast. It really enriches the ‘lobscows’ here and adds depth and vibrancy to the dish.”
Chef Tomos Parry, UK
Feeds 4-5
Ingredients
50ml vegetable oil
800g neck of Welsh mutton fillet, cut into rough 2cm cubes
1 leek, cut into 1 ½ cm pieces
1 large onion, peedled
3 carrots, peeled and roughly chopped
500g medium potatoes, peeled and quartered
200g peas (fresh or frozen)
3 sprigs thyme
2 litres chicken or lamb stock
50g pearl barley
50g laverbread
25g parsley, finely chopped
Method
Heat the vegetable oil in a heavy-bottomed frying pan, season the meat with salt and pepper and fry until nicely coloured (I would chargrill if possible).
Add the rest of the ingredients except the laverbread and parsley, bring to the boil, lightly season with salt and pepper and simmer gently for 2-2½ hours until the meat is tender.
When finished, leave to rest (my mother thinks it’s actually better the next day). Spoon a teaspoon of laverbread into each portion and stir in the parsley.

Nana Chris’s Lamb Neck and Potatoes from Dave Bone
“This is one of those simple yet satisfying comfort food recipes that fills me with nostalgia whenever I cook it; reminding me of loving hugs from Nana.”

“My fondest memories of my grandmother are of her cooking on the Aga in the kitchen in Liverpool. Flashbacks of the whole family coming together to the aromas of her wonderful creations. This is one of those simple yet satisfying comfort food recipes that fills me with nostalgia whenever I cook it; reminding me of loving hugs from Nana. With this dish I pay homage to my grandmother’s renowned lamb neck and potatoes. With love to my Nana Chris.”
Chef Dave Bone, UK
Feeds 4
Ingredients
2 large onions, thinly sliced
6 sprigs of thyme, leaves picked
15g sliced garlic
30ml olive oil
1 ½ kg maris piper potatoes, thinly sliced
500ml brown chicken stock
400g lamb neck
Method
Heat the oven to 180°C/160°C fan/gas 4.
In a 1.5 litre gratin dish add the oil over medium heat.
Once hot, add teh chopped lamb and cook for about 5 minutes, or until well coloured. Take the neck out of the dish and leave to rest on the side.
Fry the onions, thyme sprigs and garlic in the same oil as the lamb until softened and lightly caramelised. Then take off the heat and add the onions to the resting lamb.
Spread a layer of potatoes over the base of the gratin dish. Sprinkle over a few onions and keep layering to half way, then add the lamb and continue layering onions and potatoes.
Pour over the stock and bake in the oven until the potatoes are cooked and the top is golden and crisp.

Nani Ma’s Zambian Pepper Chicken with Green Beans
“Every Friday we’d all gather at ‘Nani Ma’s’ for lunch where there would be a spread laid out that featured a multitude of dishes, all stemming from our Indian heritage – daals, biryanis, meat curries, rotis, grilled chicken and more.”

“I grew up in Lusaka, Zambia in a huge family of which my two grandmothers were the true matriarchs. Every Friday we’d all gather at ‘Nani Ma’s’ for lunch where there would be a spread laid out that featured a multitude of dishes, all stemming from our Indian heritage – daals, biryanis, meat curries, rotis, grilled chicken and more. These Friday feasts were a true family affair, with my uncles and aunties all rushing in from work to grab a bite before or after their Friday ritual prayers. My grandmother’s house had a wonderful swing inside that we’d all sit on after lunch whilst drinking sugary tea and eating the sweetest fruit, such as mangoes and custard apples.
There’d always be a sheet of plastic outside the house on which chillies, fruit or other spices would be laid out to dry in the hot sun. My grandmother used to make everything at home and there’d always be a project on the go, from pickles to chile powder, marinades to poppadoms, all to be distributed to different family members around the world. She was an incredibly emotional and maternal human being who showed the love she had for her flock through the food she made and shared. I was truly lucky to have such an incredible lady in my life and eternally grateful for the memories I have of her.”
Chef Nud Dudhia, UK
Feeds 4
Ingredients
2 tbsp ghee or butter
½ onion, sliced thinly
½ tsp black pepper
1 tsp turmeric powder
1 tsp cumin powder
½ tsp salt
1 cinnamon stick (about 3cm)
2 whole cardamom pods
A few strands of saffron
1 tbsp vinegar
50ml water
1 or 2 potatoes, cut into thin wedges
200g chicken breast pieces, sliced into 3-4cm cubes
100g Fresh green beans, trimmed and cut into 3cm batons
Method
Heat the ghee in a pan and fry the onions until they are translucent, 5-6 minutes.
Add the spices and cook out until you can smell their aromas.
Add the vinegar, water and potatoes and cook for another 5 minutes before placing the chicken in the pan.
Continue cooking until the chicken is tender, and then add the beans. If the sauce is dry, add some warm water to the pan.
Serve with rice or roti.

Grandmother Sheila’s Courgettes Stuffed with Veal
“During cold winters in Saint John on the East Coast of Canada, she used to send me outside while I was still quite small to shovel the snow in her driveway. When I came back inside her house was warm and cosy, the smell of cinnamon, apple cider and candy canes.”

“My grandmother was a very kind, down to earth and caring person. Although she passed away when I was 12, I still have fond memories of her from my childhood. During cold winters in Saint John on the East Coast of Canada, she used to send me outside while I was still quite small to shovel the snow in her driveway. I used to relish this opportunity of being helpful but also playing outside on my own in the abundance of snow. When I came back inside her house was warm and cosy, the smell of cinnamon, apple cider and candy canes. She seemed a very loving person, looking after everyone in the family, a kind of leader in that sense. I found her cooking to be comforting but straightforward, no nonsense. I think in many ways she passed this onto my mother, which has also had an effect on the way I cook.
Here is a recipe for Zucchini Stuffed with Veal she published with my Grandfather on a book about artists and their recipes at home.”
Chef Jeremy Chan, UK
Feeds 2
Ingredients
2 large courgettes
2 tbsp sunflower oil
2 onions, chopped
1 garlic clove, crushed
500g boneless veal, cut into bitesize pieces
1 400ml can tomatoes
12 small mushrooms
1 tbsp parsley, chopped
1 tsp marjoram
2 tsp lemon juice
1 tsp salt
freshly ground pepper
60g grated parmesan
Method
Blanch the courgettes in boiling salted water for 10 minutes and drain
Cut in half lengthwise and scoop out a bit of the flesh to make a hollow
Heat oil in a heavy frying pan. Saute the onion and garlic until golden and remove from the pan
Add cubed veal to the remaining oil and sauté until brown
Return onions and garlic back to the pan
Add remaining ingredients except for the parmesan cheese and simmer, covered, for 10 minutes
Spoon meat mixture into the courgette halves and sprinkle with parmesan cheese
Bake at 180°C/160°C fan/gas 4 for 45 minutes
Just before serving sprinkle with a little more cheese and finish under the grill

Grandmother Brenda's Scottish Ox Tongue Sandwich from Roberta Hall-McCarron
“My sister and I spent lots of time at my grandmother’s house, she would always feed us the most delicious ox tongue and onion sandwiches when we visited her. It doesn’t sound great, but they were delicious. Now I serve this sandwich at brunch in my restaurant from time to time as it reminds me of really happy times as a child.”

Roberta on her grandmother’s knee (right), Edinburgh
“As a child growing up in a family who were all in the meat business, I found myself eating lots of meat from a very young age, but ox tongue has always stuck in my mind as a firm favourite.
My grandmother was a very kind and caring woman, a wonderful host who would always make sure her guests were comfortable and well fed. Nothing was ever too much trouble when it came to making sure her guests were happy.
My sister and I spent lots of time at my grandmother’s house and she would always feed us the most delicious ox tongue and onion sandwiches when we visited her. It doesn’t sound great, but they were delicious. Now I serve this sandwich at brunch in my restaurant from time to time as it reminds me of really happy times as a child with my grandmother and sister. I have made it my own, with caramelised onion mayonnaise and usually serve it with romesco sauce too. I think my grandmother would have rather liked it.”
Chef Roberta Hall-McCarron, Scotland
Feeds 2—4
Ingredients
4 slices sourdough bread
1 baby gem lettuce
For the ox tongue
400g ox tongue (whole not sliced)
2 carrots
1 onion
1 stick celery
For the pickle
65ml white wine vinegar
375ml water
70g sugar
40g salt
4 black peppercorns
1 sprig thyme
1 red onion
For the mayonnaise
8 white onions
500ml sunflower oil
1 tbsp mustard
30ml white wine vinegar
1 egg yolk
Method
Place the ox tongue in a pot, cover with cold water and bring to a boil, remove from the pot and discard the water, clean the pot and put the tongue back in and cover with water and add in the carrot, onion and celery.
Bring to a boil again, then reduce to a simmer and gently braise for approximately 4-5 hours until the tongue is tender. Remove from the pot and allow to cool.
Now make the pickle, in a small pan combine all the pickle ingredients and bring to a boil.
Cut the red onion into small batons
Pour the boiled pickle over the onion
Next, thinly slice the white onions and sweat down in a pot, allow to caramelise and keep sweating down until cooked.
Once cooked, blend to a smooth purée.
Now for the mayonnaise. Mix the egg yolk, mustard and vinegar, slowly start to whisk in the oil until the mayonnaise has thickened and you’ve used all the oil. Then add in the caramelised onion purée gradually until the mayonnaise has a good flavour and consistency.
To serve
Char the bread on a barbecue or chargrill.
Spread generously with the caramelised onion mayo.
Lightly dress the baby gem with a little olive oil and seasoning, place on top of the mayonnaise.
Slice the ox tongue into 2-3cm thick slices and pan-fry until crispy. Place on top of the lettuce.
Sprinkle with pickled red onion and it’s ready.

Granny Charlotte’s Chocolate and Chestnut Mousse Cake from Merlin Labron-Johnson
“This recipe is adapted from something my grandmother made for my 28th birthday. It was a magic, mousse-like texture that disappeared from your mouth as you ate it, leaving behind only the delicate flavour of chestnuts, forest floor and rum.”

“This recipe is adapted from something my grandmother made for my 28th birthday. She lives in the French Pyrenees and had collected fallen chestnuts that morning while walking the dog in the forest. It was of a magic, mousse-like texture that disappeared from your mouth as you ate it, leaving behind only the delicate flavour of chestnuts, forest floor and rum.
Granny didn’t use a recipe for this cake, she just knew what to do. I suppose that’s what 70 years of cooking experience does for you. With a little persuasion, she wrote down what she had made and added it to her tatty old recipe file. She doesn’t use cookbooks, but she will often consult this file, which is splattered with sauce and filled with cut-outs from magazines, rough methods and ideas scribbled down over decades.
I adapted her chestnut cake recipe by adding chocolate, because I love chocolate. If it is not chestnut season you can use cooked vacuum-packed or canned chestnuts, which are readily available in supermarkets and much easier to work with. For this recipe you’ll need a springform cake tin, lined on the bottom with greaseproof paper.”
Chef Merlin Labron-Johnson
Feeds 8-10
Ingredients
250g, chestnuts, cooked and peeled
250ml milk
250g unsalted butter, diced
250g dark chocolate, chopped
4 eggs, separated
140g caster sugar
300g thick crème fraîche
50ml dark rum
chocolate for shaving
Method
Preheat oven to 160°C/140°C fan/gas 3.
Put the chestnuts in a saucepan with the milk and bring to a simmer. Cook gently for 10 minutes and place in a blender. Blend until smooth, adding a little extra milk if necessary, and set aside.
Put the butter and chocolate in a heatproof bowl and place over simmering water, stirring from time to time until it is melted.
In a large bowl, whisk the egg yolks with the caster sugar and then incorporate the chestnut purée, followed by the chocolate/butter mixture. Whisk the egg whites to soft peaks and, using a spatula, gently fold it into the chocolate and chestnut batter. Pour the mixture into the cake tin and place it in the oven for 30 minutes. To check if it’s cooked enough, insert a skewer or the tip of a small knife. If it comes out clean, it is ready, if not, return to the oven for a few minutes more. Leave to cool for 45 minutes to 1 hour.
Mix the crème fraîche with the rum and spread over the top of the cake. Decorate with chocolate shavings. This cake is best eaten on the day it is made, which, if past experience is anything to go by, shouldn’t be a problem.

Grandma Doreen's English Fig Rolls from Sam Bryant
“She would cook the Sunday roast and then do the washing up with a cigarette in her mouth, have a nap, read the papers then spend the rest of the afternoon baking and making tea for an army.”
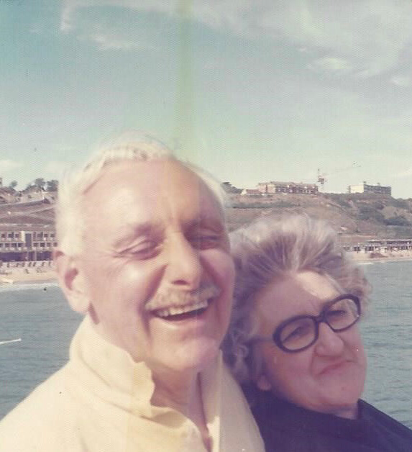
“I only had one grandparent growing up, but my nan made up for that. She was a pivotal person in my life, and wherever we moved she would move too, so we were always extremely close.
Grandma loved to bake. When we were in Bristol with my dad and my uncles and aunt, she would cook the Sunday roast and then do the washing up with a cigarette in her mouth, have a nap, read the papers then spend the rest of the afternoon baking and making tea for an army. She was always baking, I just remember this list of cakes she always had to make, friends of friends that would ask for wedding, anniversary, birthday and Christmas cakes, it was a never-ending job for her. She always put so much love and energy into them, just for the reaction it would get from the person she was giving it to.
When she died, I was given two things; a bear that I had made for her that was in a chef costume, and a copy of Gary Rhodes’s ‘Sweet Dreams’. At the point of receiving the book I was very new into my cheffing career, but this book opened my eyes to an incredible array of perfectly executed desserts. Lots of pages were stuck together and there were scribbles of notes (working from grams into ounces). Now, all these years later, when we started Whole Beast, one of our first dinners had fig rolls on the menu, as so many future dinners will.”
Chef Sam Bryant
Makes 12
Ingredients
For the biscuit dough
175g plain flour
Pinch fine sea salt
¼ tsp baking powder
50g beef fat
40g caster sugar
1 egg, beaten
For the filling
200g dried figs, stalk removed and roughly chopped
30g molasses
Method
To make the biscuit dough, sift the flour, salt and baking powder together into a bowl. Beat the beef fat and sugar together in a stand mixer until pale and creamy.
Add the egg and beat until combined. With the mixer on a low speed, add the flour mixture in two batches until incorporated. Wrap the dough in cling film and chill for 30 minutes, until firm.
Make the fig filling, tip the figs into a small pan so they cover the base. Add the molases and enough water to just cover the fruit. Place over a medium heat and bring to the boil, then reduce the heat and simmer, stirring with a wooden spoon, for 5–8 minutes, until the figs are soft and the mixture is thick.
Transfer the mixture to a food processor and blitz to a paste. Allow the mixture to cool.
Heat the oven to 190°C/170°C fan/Gas 5.
Roll out the chilled biscuit dough on the flour-dusted work surface to a 25 x 20cm rectangle. Trim the edges and cut the rectangle in half to give two strips, each measuring 25 x 10cm.
Halve the fig filling and, with floured hands, roll each half into a sausage measuring 25cm long. Lie each sausage down the middle of one a strip of biscuit dough. Brush the long edge of one strip of dough lightly with water and roll the dough over the filling as you would a sausage roll. It should overlap and seal in the filling. Repeat with the other roll.
Gently transfer the rolls onto a baking tray lined with greaseproof paper and cut each roll into six equal pieces. Run a fork along the tops of the rolls to slightly flatten and to create decorative lines. Bake for 12–15 minutes, until lightly browned, then remove from the oven and cool on a wire rack before serving.

Grandma Zofia’s Polish Wild Mushroom Soup from Alicja Specjalna
“The problem with Grandma is that she doesn’t have a single recipe. She just does what she thinks is best, using pure intuition and it is, always, the best. Her dishes are always full of flavour, full of fat and she never wastes a single thing that passes through her kitchen.”
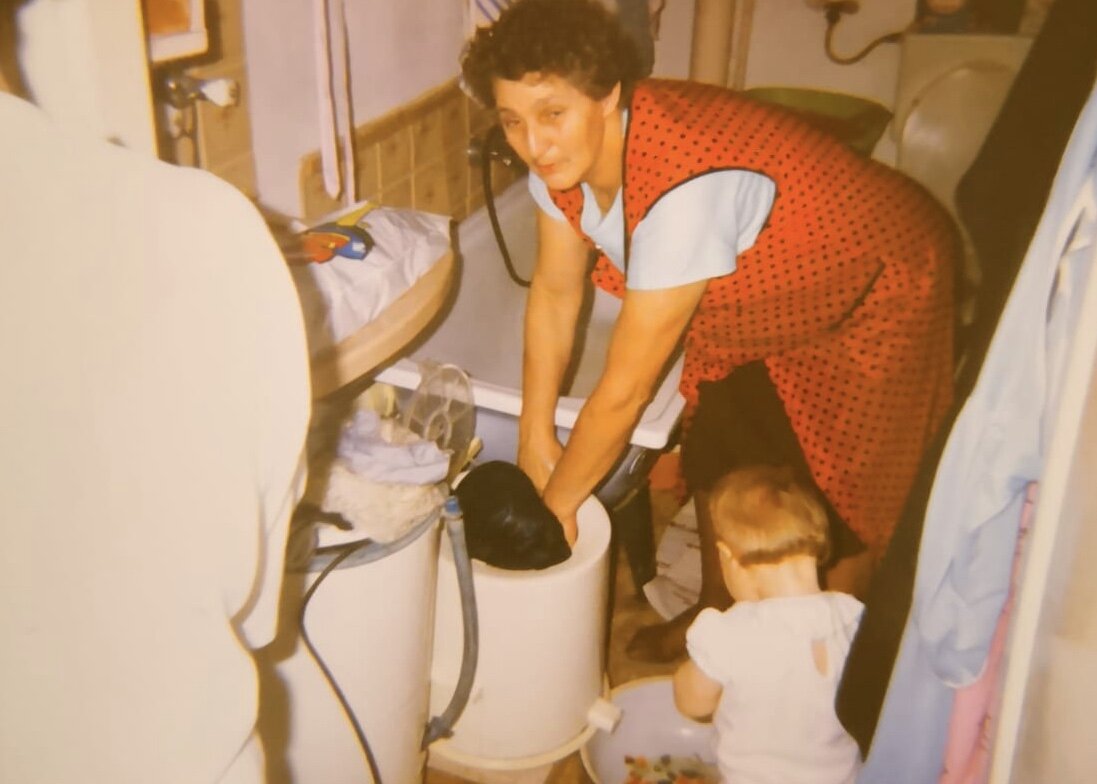
“Whatever was going on in the family, Grandma would always pull us together around a full table of delicious food. She’s a simple woman, from a small village that she’s lived in all her life. Her husband (my grandad) ran a butchers and canning shop in the village and she would feed two hundred farm hands daily from her home during the season. I hope that by the time I’m 80, that I too will bomb around the village on my bicycle to head to my small holding and two allotments, reaping the fruits of my labour, just like grandma does.
The problem with Grandma is that she doesn’t have a single recipe. She just does what she thinks is best, using pure intuition and it is, always, the best. Her dishes are always full of flavour, full of fat and she never wastes a single thing that passes through her kitchen. This makes recreating her dishes almost impossible. This soup is best done with the leftovers from a roast chicken, including all the skin because you want to have enough fat that the soup is left with pearls of fat on the top of it.”
Chef Alicja Specjalna, Poland / UK
Feeds 2 if greedy, 4 if polite
Ingredients
1 chicken leftover carcass
500g dried wild mushrooms
500g potatoes, peeled and diced
200g double cream
50g flour
Method
The night before, place the carcass and the skin in a slow cooker or in a pan cover with water, place on low overnight to make the base stock.
Also the night before cover the dried mushrooms with a litre of boiling water and allow to soak.
The next day remove what’s left of the carcass, if some meat falls from the bones, allow that into the soup.
Add the mushrooms and the remaining water from soaking, cook on a low heat for one and a half hours.
After this time, take a ladle full of the stock and whisk in the cream and the flour until smooth, add this mixture back to the soup.
Add the diced potatoes and cook for 30 minutes for young potatoes and up to an hour for old potatoes, until tender. Season to taste and serve.

Grandmother Narmada Lakhani's Gujarati Corn on the Cob Curry from Meera Sodha
“At the age of 83 my grandma has somewhat unreliable hips, but I have never seen her move so quickly to the dining table as when this curry is on the menu.”
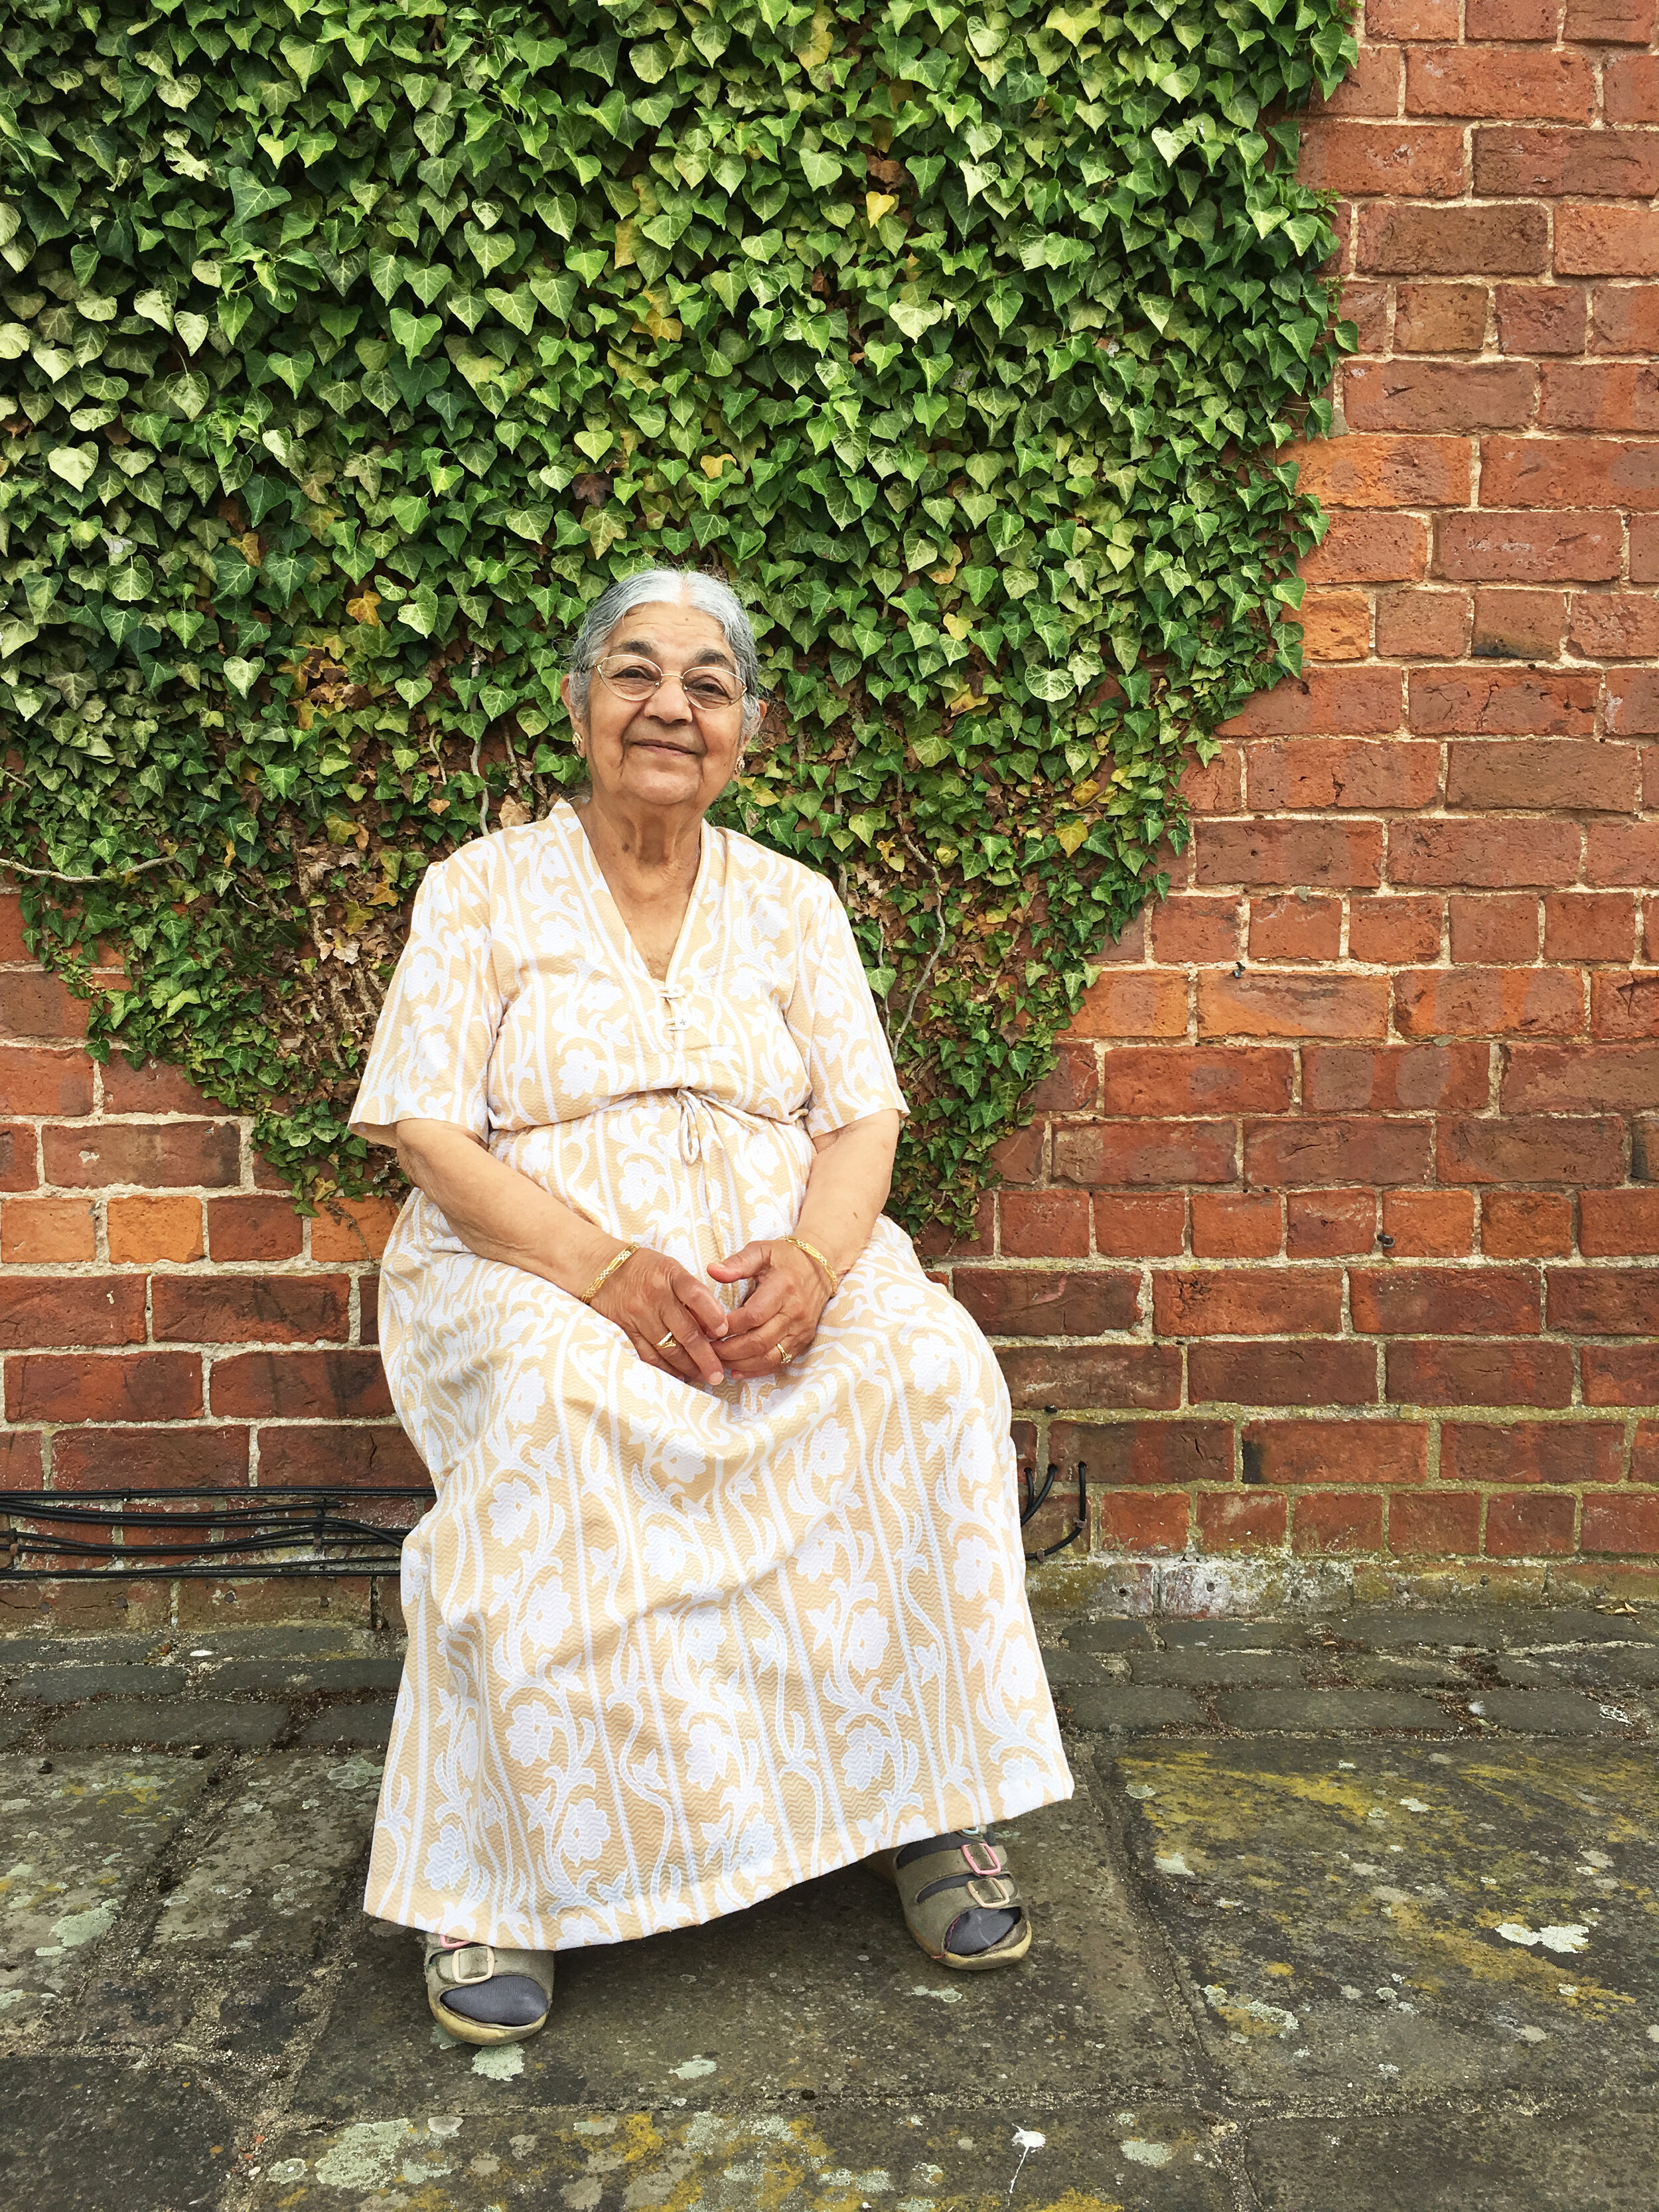
“At the age of 83 my grandma has somewhat unreliable hips, but I have never seen her move so quickly to the dining table as when this curry is on the menu. It’s not just one of her favourites, it’s also on the A-list of curries for a lot of Gujaratis. There are no onions or garlic in this dish, but the ground peanuts, chickpea flour and yoghurt add a real depth of flavour and savoury nuttiness.”
Chef Meera Sodha, UK
Feeds 4
Ingredients
120g unsalted peanuts, preferably red-skinned (plus extra to serve)
6 corncobs
5 tbsp rapeseed oil
60g chickpea (gram) flour
300ml Greek yoghurt
1½ tsp salt
½ tsp ground turmeric
1½ tsp chilli powder
1 tsp caster sugar
Method
Grind the peanuts to a fine consistency in a spice grinder or food processor and set aside.
De-husk the cobs and pull off any silky strands.
Make a deep horizontal cut halfway down each cob and break in half.
Bring a pan of water to the boil, add the corn and boil for 6 to 8 minutes, until tender, then drain.
Put the oil into a large, lidded frying pan over a low–medium heat and, once hot, add the chickpea flour, stirring continuously to smooth out any lumps. After around 4 minutes it will start to turn a pinkish brown. When it does, add the ground peanuts, turn the heat right down and cook for 5 minutes, stirring frequently.
Add the yoghurt, salt, turmeric, chilli powder and sugar to the pan. Stir to mix, then increase the heat to medium. Slowly ladle in 600ml of water, stirring until you have a smooth consistency.
Put the corncobs into the pan, cover with the lid and leave to heat through for around 5 minutes, until the sauce is the consistency of double cream. Transfer to a serving dish or individual bowls and scatter over some crushed peanuts. Serve with rice or chapatis and encourage people to get stuck in with their hands.

Mam Gwladys’s Seeded Yorkshire Puddings from Anna Jones
“Sunday dinners at my nan’s were quite something. Dinner was in shifts, and as the littlest we always got to go first, which filled my heart with joy because it was a guarantee of one of Mam’s Yorkshires.”

'Mam' Gwladys, centre, with her children
“One of the things we British do best is a Sunday dinner. Mine have and always will focus around one thing – the Yorkshire pudding. I am from a really big family – my dad is number nine of 12 children. I have 30 cousins, a brother and a sister. So Sunday dinners at my nan’s were quite something. Dinner was in shifts, and as the littlest we always got to go first, which filled my heart with joy because it was a guarantee of one of Mam’s Yorkshires (which I am still sure are the best I’ve ever had).
So here, aged six, the obsession started. I have tried every Yorkshire recipe that’s going but I like my Yorkshires to have a bit of stodge – crispy and light on the outside, doughy chewiness on the inside. I have added some toasted seeds here for texture and flavour, which lifts this from an add-on to the main event.
There are five commandments of Yorkshire puddings. Don’t be scared of heat: preheat your oven to maximum. Try to rest your batter for at least 15 minutes. It’s key. Be sure to preheat your oil in the oven until smoking hot. Make sure you heat the tray on the hob while pouring in your batter. Don’t open the door until the cooking time is up or the Yorkshires will deflate. Finally, rapeseed oil works well here – it’s a brilliant British oil whose vivid saffron hue paints the outside of the Yorkshires. Sunday heaven.”
Chef Anna Jones, UK
Makes 12 towering Yorkshires
Ingredients
200g plain white flour
2 tbsp toasted poppy seeds
2 tbsp toasted sesame seeds
1 tsp sea salt
pinch cracked black pepper
250ml milk, topped up to 300ml with water
4 organic or free-range eggs
12 tsp rapeseed oil or groundnut oil
Method
First preheat your oven to as hot as it will go. Next, mix the flour, toasted seeds, salt and pepper in a bowl. Pour your milk-water mix into a jug.
Crack the eggs into the bowl of flour, pour in a little of the milk mixture, and beat well until you have got rid of most of the lumps. Continue to beat in the rest of the milk mixture bit by bit, until you have a smooth batter about the consistency of double cream. Now leave your batter to rest for at least 15 minutes.
Once your batter is ready, pour it into a jug. Put about 1 tablespoon of oil into each of the little dips in a 12-hole muffin tin and pop it into the oven for a couple of minutes, until the fat is smoking.
Now turn two of the rings on your hob to medium and put the jug of batter next to the hob. Very carefully but quickly, take the hot muffin tin out of the oven and shut the door. Put the muffin tray on the heat and quickly but carefully pour the batter into each hole until it is about 2cm from the top.
Put the tray back into the oven, shut the door and set the timer for 12 minutes. Do not be tempted to open the door too soon – they WILL fall and fail. Check through the oven glass at 12 minutes and if they are risen like little towers and nicely golden, take them out. If not, leave them in without opening the oven for another few minutes, keeping an eye on them.

Grandmother Doña Margarita’s Mexican Rice with Chicken Offal From Enrique Olvera
“ To me, the rice in this dish makes it one of those dishes that feeds the soul. Although it’s really not just about the dish itself, it’s the ceremony that goes with it.”
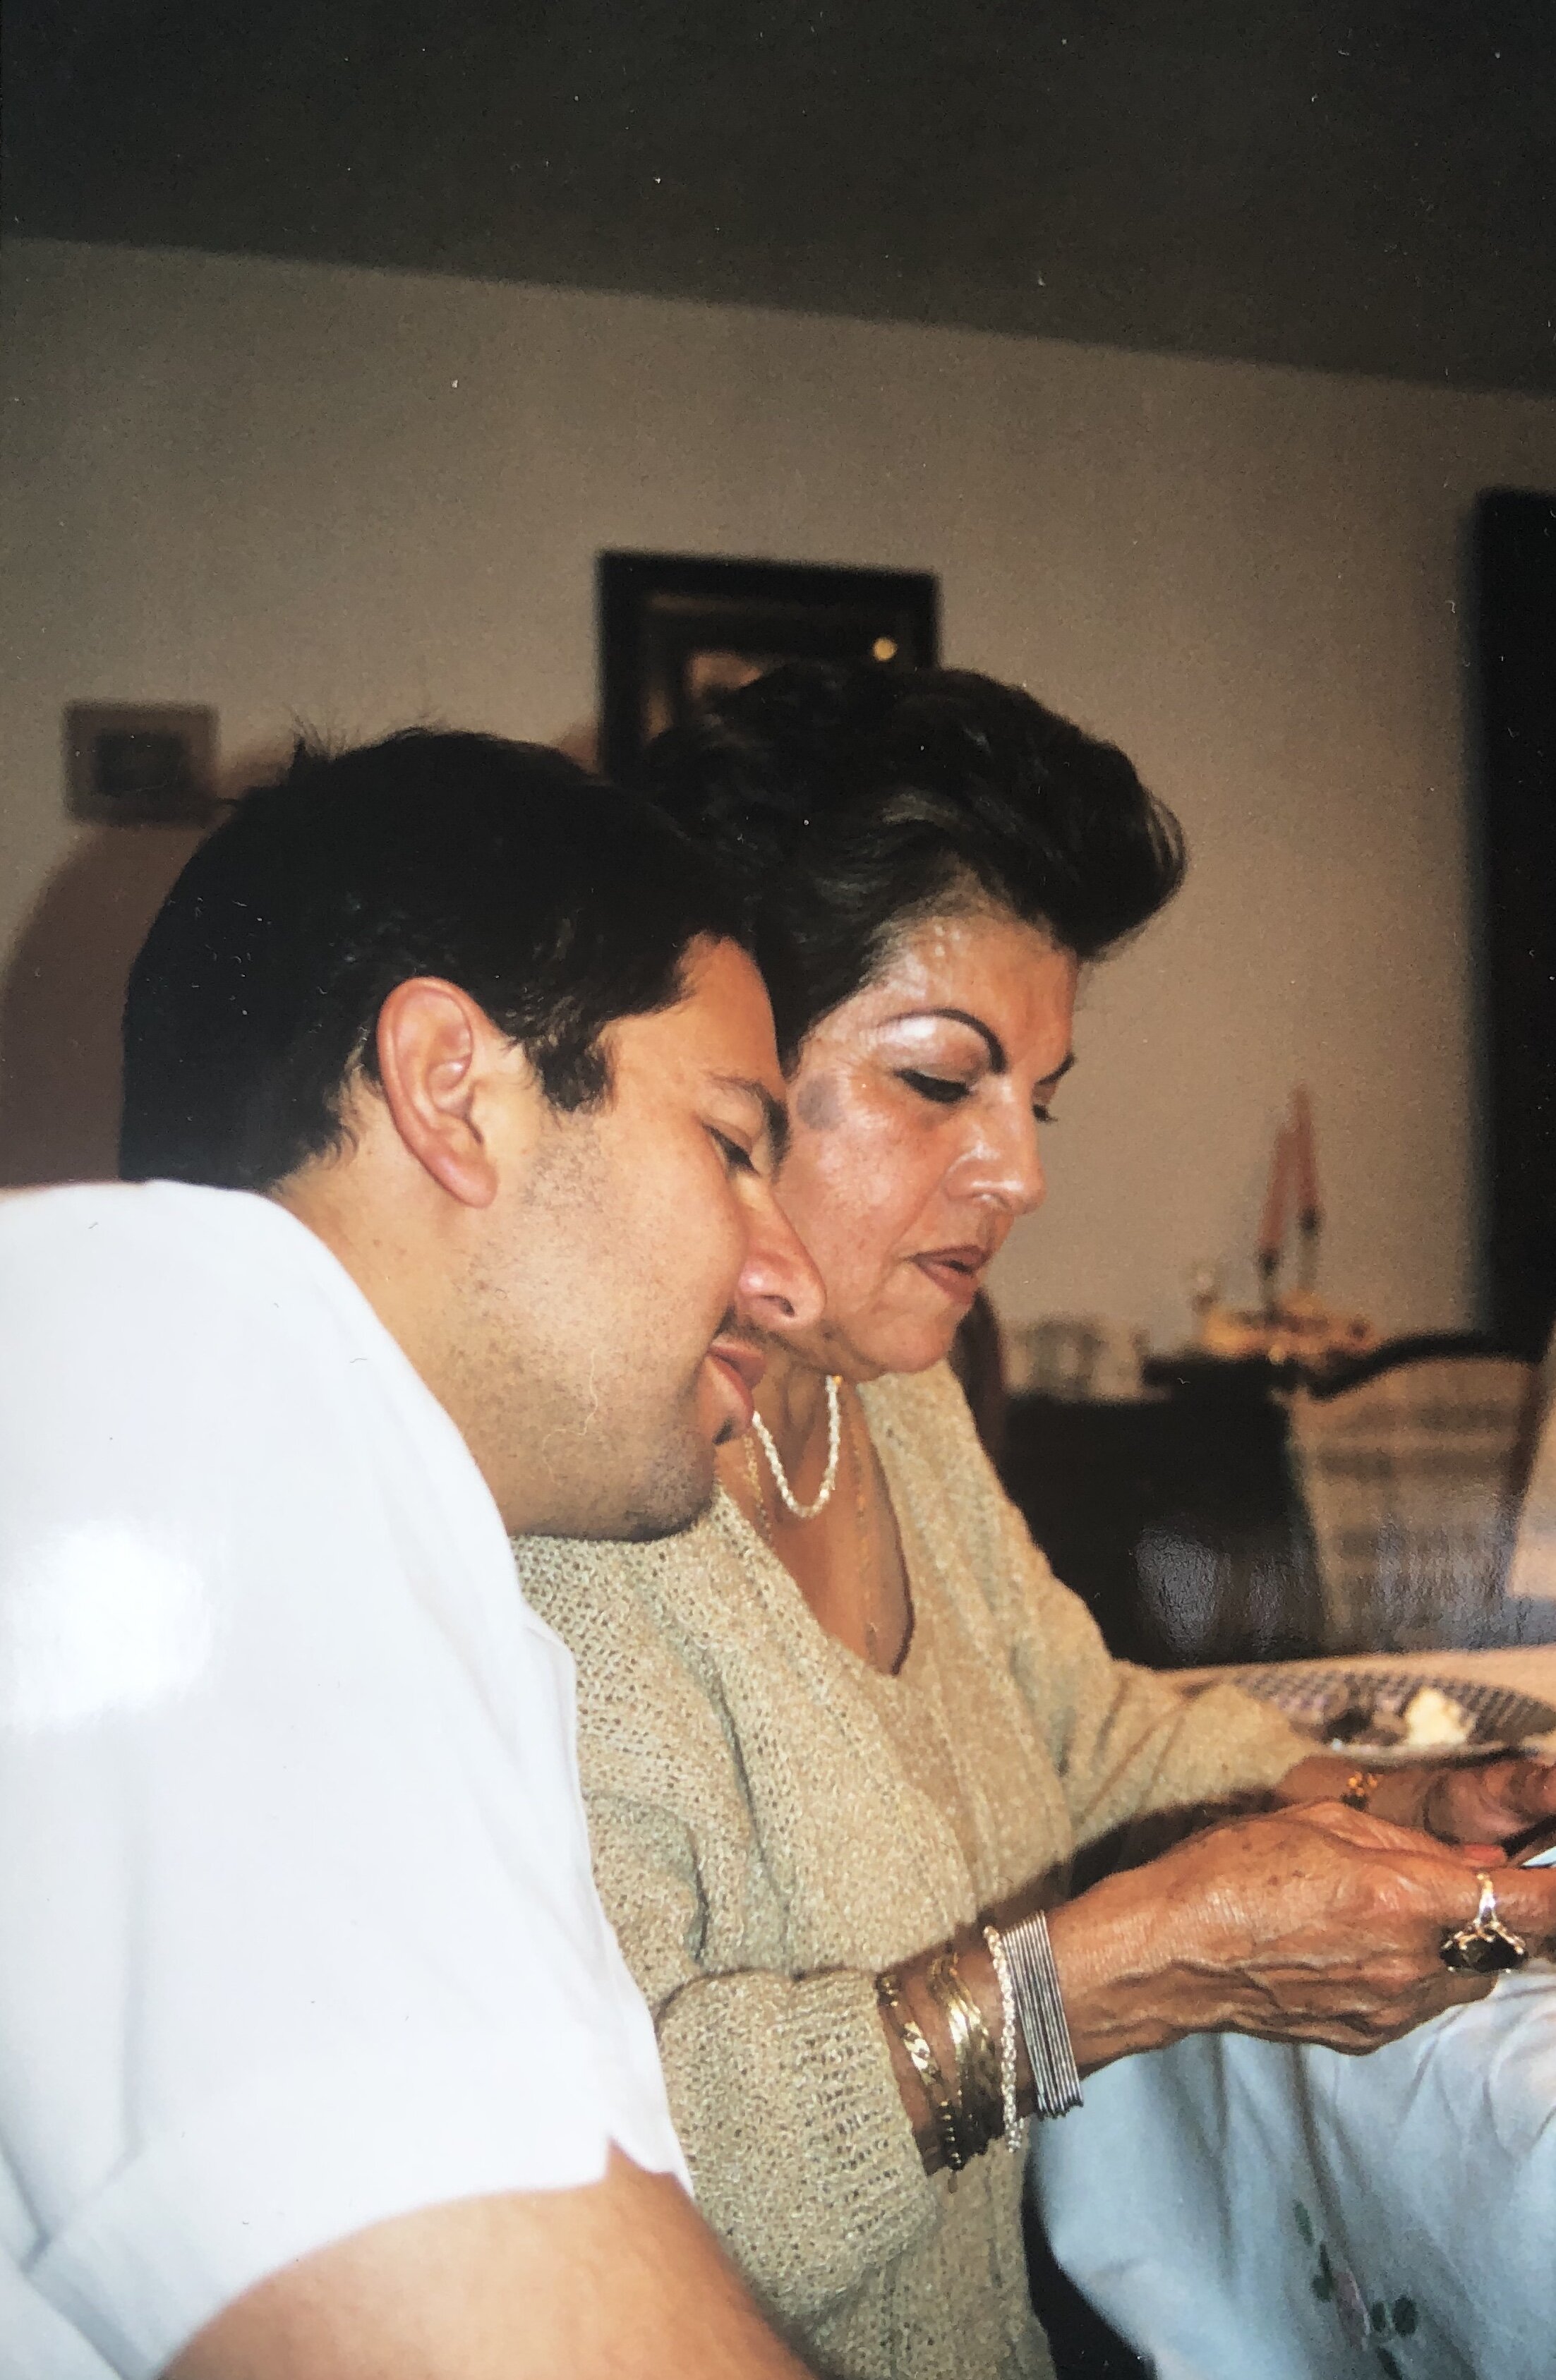
My grandmother, Margarita, was a caring woman from Tabasco, in the south-east of Mexico. I never cooked arroz de novios with her. Her recipe was, of course, delicious but the most important thing for me is what it still represents; a dish to celebrate and share with loved ones.
To me, the rice in this dish makes it one of those dishes that feeds the soul. Although it’s really not just about the dish itself, it’s the ceremony that goes with it. It reminds me of a loving grandma, the people I once shared her table with and the perfect smell and texture chicken offal gives to the plate. This whole experience is one of the memories with my grandmother I cherish the most.
Chef Enrique Olvera, Mexico
Feeds 6
Ingredients
3 garlic cloves, chopped in half
1 onion, sliced
80g fresh parsley, chopped
pinch nutmeg
1 chicken stock cube dissolved in 125ml water
250g chicken livers
250g chicken sweetbreads (make sure to wash them very well and cut them into little pieces for rapid cooking and if you can’t get them, use 500g chicken livers)
2 bay leaves
1 tsp cracked black pepper
½ tsp turmeric
1 tsp dried oregano (preferably from Tabasco, Mexico!)
450g rice, washed and drained
Method
In a large pot, heat the oil on medium heat and stir-fry the garlic and onion. When the onion turns clear, add the chopped parsley (save some for garnish) and take off the heat.
Then, in a blender, blitz the stir-fried onion, garlic and parsley with the nutmeg and stock.
Stir-fry the chicken livers and sweetbreads in the same large pot, adding a little oil if you need. Add the bay leaves, pepper, turmeric, oregano and the blender mix.
Cook on a medium heat for twenty minutes. If it dries, lower the heat and add a little more water.
Incorporate the previously washed and drained rice and add 1l of water.
Add salt and maintain a low heat so that the rice does not burn.
When the rice is cooked, garnish with some chopped parsley.

Yiayia Maria’s Greek Carrot Fritters (Keftedes) from Maria Elia
“My grandma came over from Cyprus to help my dad in his restaurant. It’s where I found my passion for cooking.”

“One of my earliest childhood memories is eating keftedes with my Yiayia. My grandma came over from Cyprus to help my dad in his restaurant. I used to get involved at the age of four helping out with minor tasks such as feeding potatoes through the rumbler and grating Kefalotyri cheese. It’s where I found my passion for cooking.
Normally keftedes are made with minced meat (they're basically meatballs). These vegetarian alternatives are packed with flavour. Pre-roasting the carrots brings out their natural sweetness, which is balanced by the salt-sour feta and Kefalotyri. Mint and parsley add freshness, with a hint of cinnamon for spice. These keftedes are just as delicious served cold. This is my vegetarian version of these Greek meatballs, dedicated to my Yiayia Maria.”
Chef Maria Elia, UK
Feeds 4, makes 16
Ingredients
350g carrots
2 tbsp olive oil
1 small onion, grated
150g feta, crumbled
50g fresh breadcrumbs
1 tsp cinnamon
2 tsp dried mint
50g parmesan, grated
10g fresh flat-leaf parsley, finely chopped
1 egg, beaten
plain flour, to dust
olive or vegetable oil, for shallow frying
Method
Preheat the oven to 200°C/180°C fanC/gGas 6.
Peel and top and tail the carrots, and leave whole. Drizzle with the olive oil, and place in a roasting tin and cook for 30–40 minutes (depending on the size of carrots) until al dente, turning them halfway through. Leave to cool.
Grate the carrots into a bowl and mix with the rest of the ingredients, except the flour and oil. Season with sea salt and freshly ground pepper and refrigerate for 1an hour. (The mixture can be made the day before and refrigerated until required.).
Shape into 16 walnut-sized balls and dust in flour. You can either shallow fry them in olive oil or deep-fry them in vegetable oil. If using olive oil, heat in a frying pan over a medium heat, add half the keftedes and fry until golden on either side – about 3 minutes.
Repeat with the remaining balls. If using vegetable oil, deep-fry the keftedes for about 3 minutes at 180°C until golden. Drain on kitchen paper and serve warm.

Gampie Paula's Australian Apple Pie from Maxine Thompson
“Paula Thompson was a walking piece of art. Her ability to knock up an apple pie in the blink of an eye made her the envy of her friends.'“
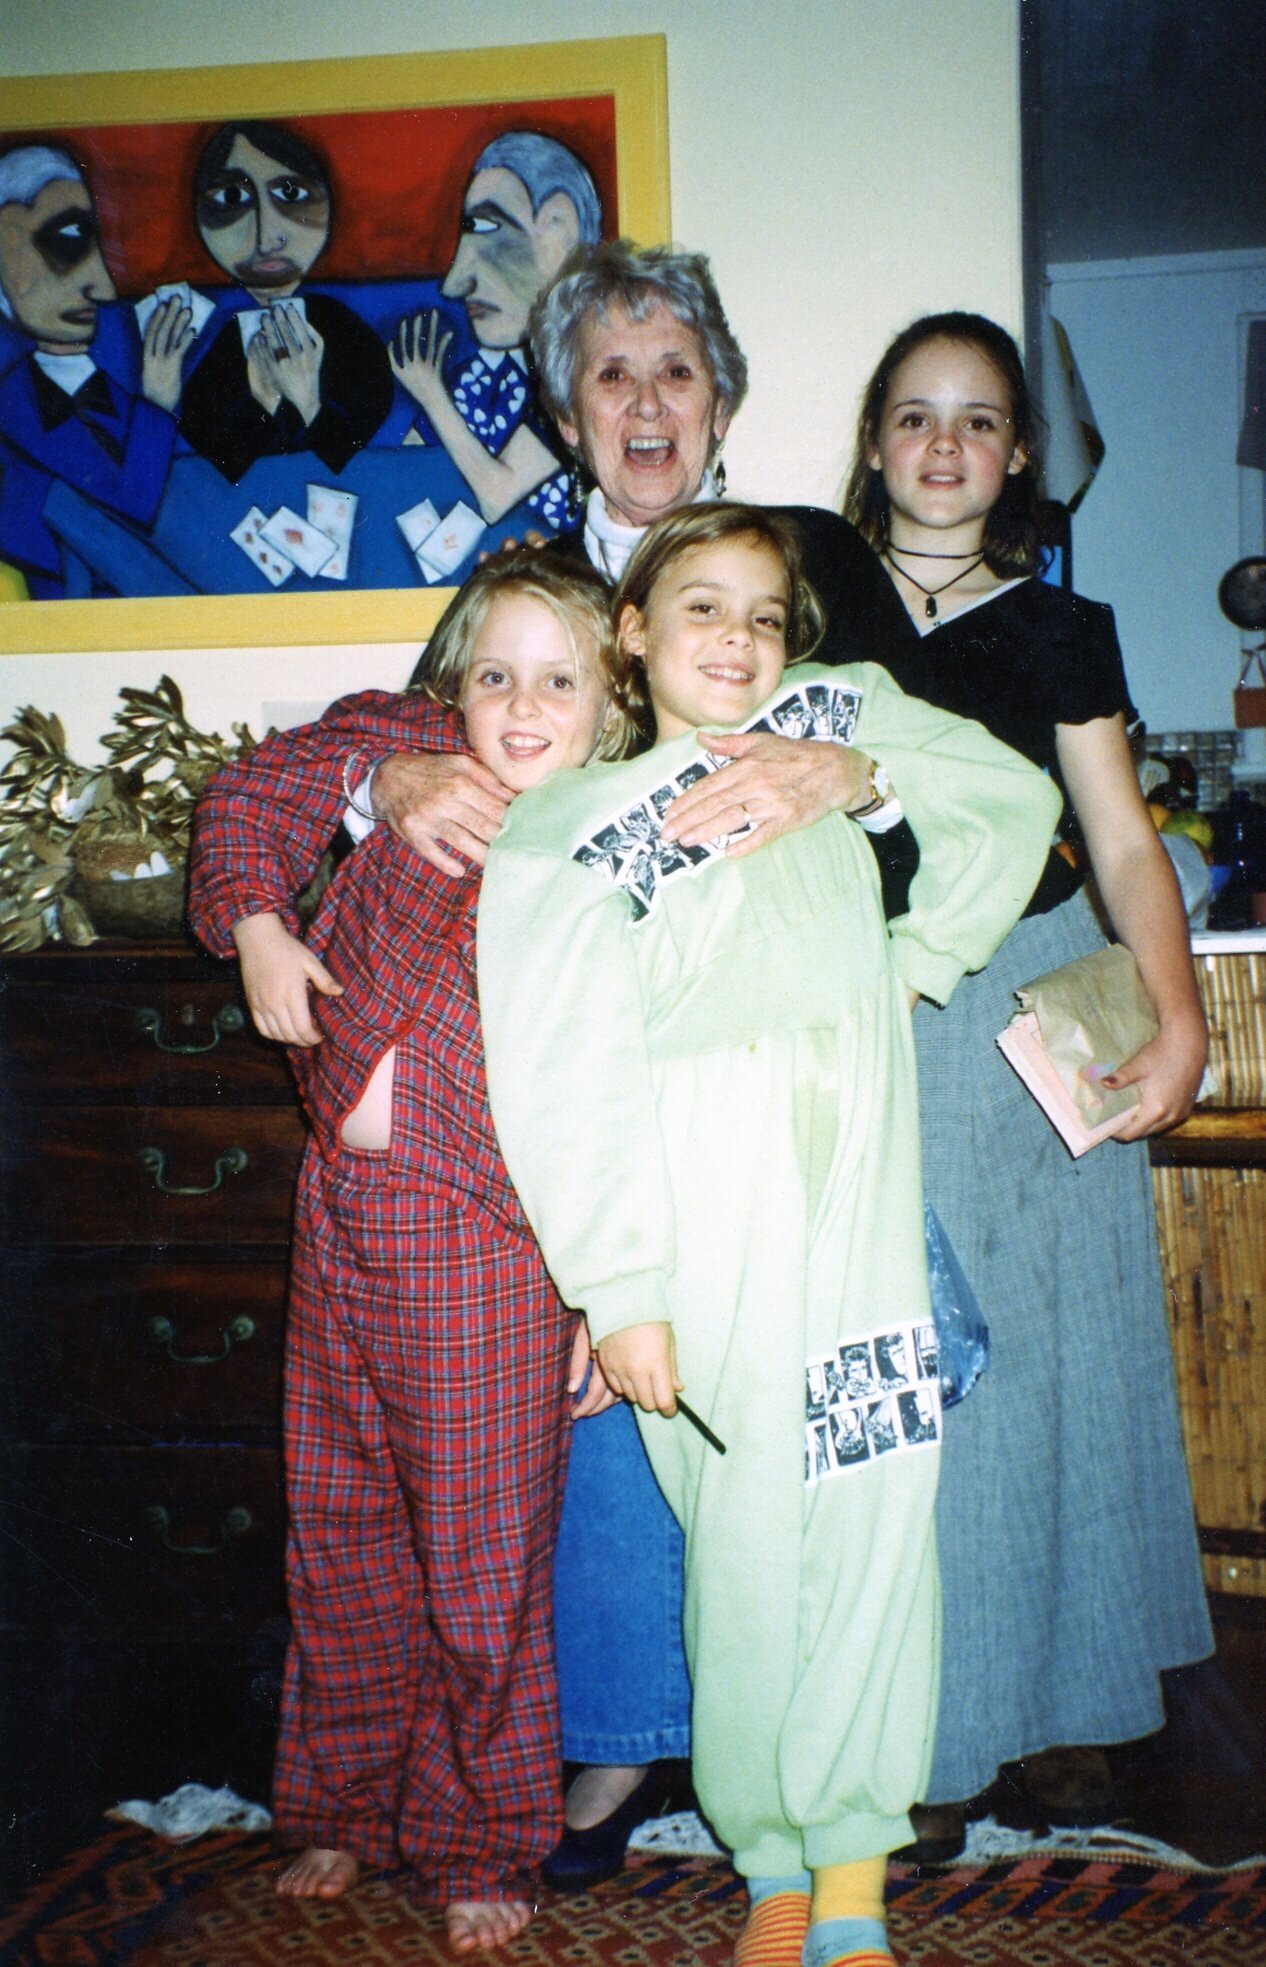
“When I think of my grandmother (Gampie to us) I think of matching silk twin-set suits, silk head scarves, blouses and brandy.
Paula Thompson was a walking piece of art. Men fell in love with her; she was cool and hilarious at the same time; she was petite and cheeky. She was the hostess with the mostest, and was very popular with younger generations, as she was often the last man standing at a party. She was fashionable at all times and was a true bohemian who truly adored her grandchildren.
She loved food, and travelled a lot, and cooked when she had the chance. Her ability to knock up an apple pie in the blink of an eye made her the envy of her friends. Gampie loved to cook this as the prep time vs delight it brings is minimal. She loved it because you could chop apples hap-hazardly and throw the pastry together. She would much prefer to entertain than be in the kitchen at a gathering.
My fondest memories with her were spending balmy summer afternoons in her tiny apartment in Rose Bay (Sydney), watching the tennis, eating lady finger biscuits, musk sweets, melted chocolate ice-cream and lemonade.”
Founder of Polka Pants, Maxine Thompson, Australia/UK
Feeds 8–10
Ingredients
For the pastry
400g plain flour, plus extra for rolling
2 tbsp caster sugar
zest of 1 lemon
250g butter, cold and cut into cubes
1 egg, beaten
2 tbsp cold water
1 egg, beaten (to glaze)
good pinch of salt
For the filling
5oz golden caster sugar, plus extra for sprinkling
1 tsp ground cinnamon
600g cooking apples, peeled, cored, roughly chopped into pieces
Method
For the pastry, place the flour, sugar and lemon zest into a bowl with a pinch of salt and rub in the butter until the mixture resembles breadcrumbs. Add the beaten egg and 2 tbsp cold water and stir with a round-bladed knife until the mixture forms a dough.
Set aside ⅓ of the pastry for the lid.
For the bottom of the pie you can use the traditional method of rolling out the pastry dough on a floured surface, or you can grate the dough directly into the pie dish and press it firmly into the sides (this is a less fussy way of creating the base and less frustrating!). If using the rolling method, roll out the remaining pastry on a lightly floured surface until the thickness of a pound coin and 5–7cm larger than the pie dish. Lift the pastry over the rolling pin and lower it gently into the pie dish.
Press the pastry firmly into the dish and up the sides, making sure there are no air bubbles. Chill in the fridge for a few minutes.
Preheat the oven to 200°C/180°C fan/gas 6. Place a baking tray into the oven to preheat.
For the filling, mix the sugar and cinnamon in a large bowl. Stir in the apples.
Place the apple filling into the pie dish, making sure that it rises above the edge. Brush the rim of the dish with beaten egg.
Roll out the reserved ball of pastry. Cover the pie with the pastry and press the edges together firmly to seal. Using a sharp knife, trim off the excess pastry, then gently crimp all around the edge. Make a few small holes in the centre of the pie with the tip of a knife. Glaze the top with beaten egg.
Sprinkle the pie with sugar and bake in the centre of the oven for 45 minutes – 1 hour (oven depending) or golden-brown all over and the apples are tender.
Serve with a generous helping of vanilla ice- cream, custard or clotted cream (or all three!) and a glass of brandy.

Granny Kathryn’s cucumber and tarragon salad from Rosie Birkett
“Granny always laid on a nice home cooked meal and often made this cucumber and tarragon salad, laying it out on the table with some cold cuts. It’s adapted from a very old Penguin Cordon Bleu cookbook and it might just explain my lifelong love of tarragon.”

“My granny Kathryn, my dad’s mum, was a serious, elegant and intelligent woman that I always remember speaking her mind. Before having children, granny had previously worked as a governess, and she had an authority and grandness to her that never left, even when she was incredibly old, which sometimes made her rather formidable. Despite this, she had a very kind nature, and a great deal of patience, which was tested to the maximum while trying to teach me to knit.
She lost her husband Phillip, an architect, very young from bone cancer when my father was just a baby, and brought him and his two sisters up on her own through rationing. This undoubtedly instilled a thriftiness and knack for eking out food into her cooking, and I think the salad below is a perfect example of this – it takes a few quite simple ingredients and combines them to make something truly delicious and special.
Before she moved into an annexe next door to my auntie and uncle, where she perpetually sat in a corner armchair, reading, knitting, or watching tennis on the TV, she had a beautiful and very old house in Harman’s Corner, Kent, which had been built by one of her ancestors. It had an orchard attached, and, along with a neighbour, Kathryn raised a pig there which grazed on the apples, and eventually fed both families, with no part of the pig going to waste. My father had a love of all things porky, making his own scotch eggs and, at one point, even sausages, and I wonder if this passion for pork came from this part of his childhood. I wish I could ask him.
I don’t really remember the house at Harman’s Corner, apart from that it had a gorgeous old grandfather clock in the living room. Inside was a frayed sack of wooden toys and blocks that was brought out with much ceremony whenever we visited, which my sister and I always found incredibly exciting. Granny always laid on a nice home- cooked meal, and often made this salad, laying it out on the table with some ham and perhaps some cold cuts. It’s adapted from a very old Penguin cordon bleu cookbook, which, along with Elizabeth David’s Provincial French Cooking, was her go-to cookbook, and it might just explain my lifelong love of tarragon.”
Food writer and stylist Rosie Birkett, UK
Feeds 2–4 as a side
Ingredients
1 cucumber, peeled and finely sliced
sea salt
1 tsp sugar
1 dessert spoon of tarragon vinegar
1 small cup of cream
2 tbsp vegetable oil
¼ tsp ground white pepper
small bunch fresh chives
few leaves of tarragon
Method
Peel the cucumber, slice as thinly as possible, salt it lightly and press it down between two plates with a weight on top. Leave for 30 minutes, then tip off any liquid.
Mix the sugar and vinegar together, stir in the cream and add the oil by degrees, whisking until you’re happy with the texture, then season with the white pepper.
Arrange the drained cucumber in a shallow dish, spoon over the dressing and scatter the top with chives and tarragon.

Abuela Tatá’s Uruguayan peach ice cream from Francis Mallmann
“I can only thank life for such a loving Grandma who taught me taste and left me, as inheritance, a reverie of ripe peaches that no other child has ever had.”

“There is a country in south America that is called Uruguay, where my grandma was born. Not only that, but it has some of the most delicious peaches to be mouthed. The best variety is called “Rey del Monte” and they come from Bella Union (Artigas) and are available only during the last two weeks of January. The truly luscious ones come from dry summers with lots of sunshine, when taste concentrates so scrumptiously that they make you silently faint with pleasure as the juices drip from hands, lips and heart.
My Grandma - Tatá or Chucha, as we called her - was one of the hurried types. She walked fast around her house in the old city of Montevideo, as she sewed, cleaned or read, talking to herself, doing as many things as she could on the long hot summer days..
Only when these peaches were at their best, she would peel six of them with her fingers, roughly mash their tender flesh with a fork, and add them to 35 ounces of the best Conaprole double cream, cold and beaten with a wire whisk until it was stiff. The mix would go into the rectangular tins used for ice cubes and into the humble freezer of her fridge that - white when new - had turned into an ancient suspicious yellow, with a big metal-handled door that made a great click when closing it. She would serve it with a very light syrup that had been slightly burnt, giving it the most interesting and romantic taste.
Nowadays, after so many years of cooking with fires, I like to serve the ice cream with some extra fresh peaches that I open in half with my fingers and burn very fast on a griddle with sugar and butter. The technique requires them to be glazed only on the open side, so they remain raw and slightly warm. When I lay them by the scoop of ice cream on the plate, they look like the most passionate, elegant, glazy, moist brides, in slight summer dresses, with an array of green from the fresh hand ripped mint. Yes, I fall in love every day.
I can only thank life for having nested me as a child in this beautiful, tiny country with such a loving Grandma who taught me taste and left me, as inheritance, a reverie of ripe peaches that no other child has ever had.”
Chef Francis Mallmann, Argentina
Ingredients
8 ripe peaches, 6 for the ice cream, 2 for serving
1litre double cream
Knob of butter
Fresh mint for garnish
The recipe needs no knife, only your hands, a fork and a whisk. You can use any freezer container or a loaf tin lined with baking parchment.
Method
Mash the peaches with a fork.
Whisk the double cream until stiff.
Fold the peaches into the cream and put into the metal ice cream tray/tin in the freezer.
When ready to serve, heat a knob of butter in a griddle pan. Break two peaches in half and sprinkle the flesh with brown sugar and place flesh side down in the pan to caramelise for a couple of minutes.
Serve next to the ice cream with ripped mint.

Grandmother Hsu Chen Xiu’s Taiwanese stir fry vermicelli from Erchen Chang
“Growing up, my most vivid memory is of my grandmother cycling on her red bike, the front basket full of food from the market.”
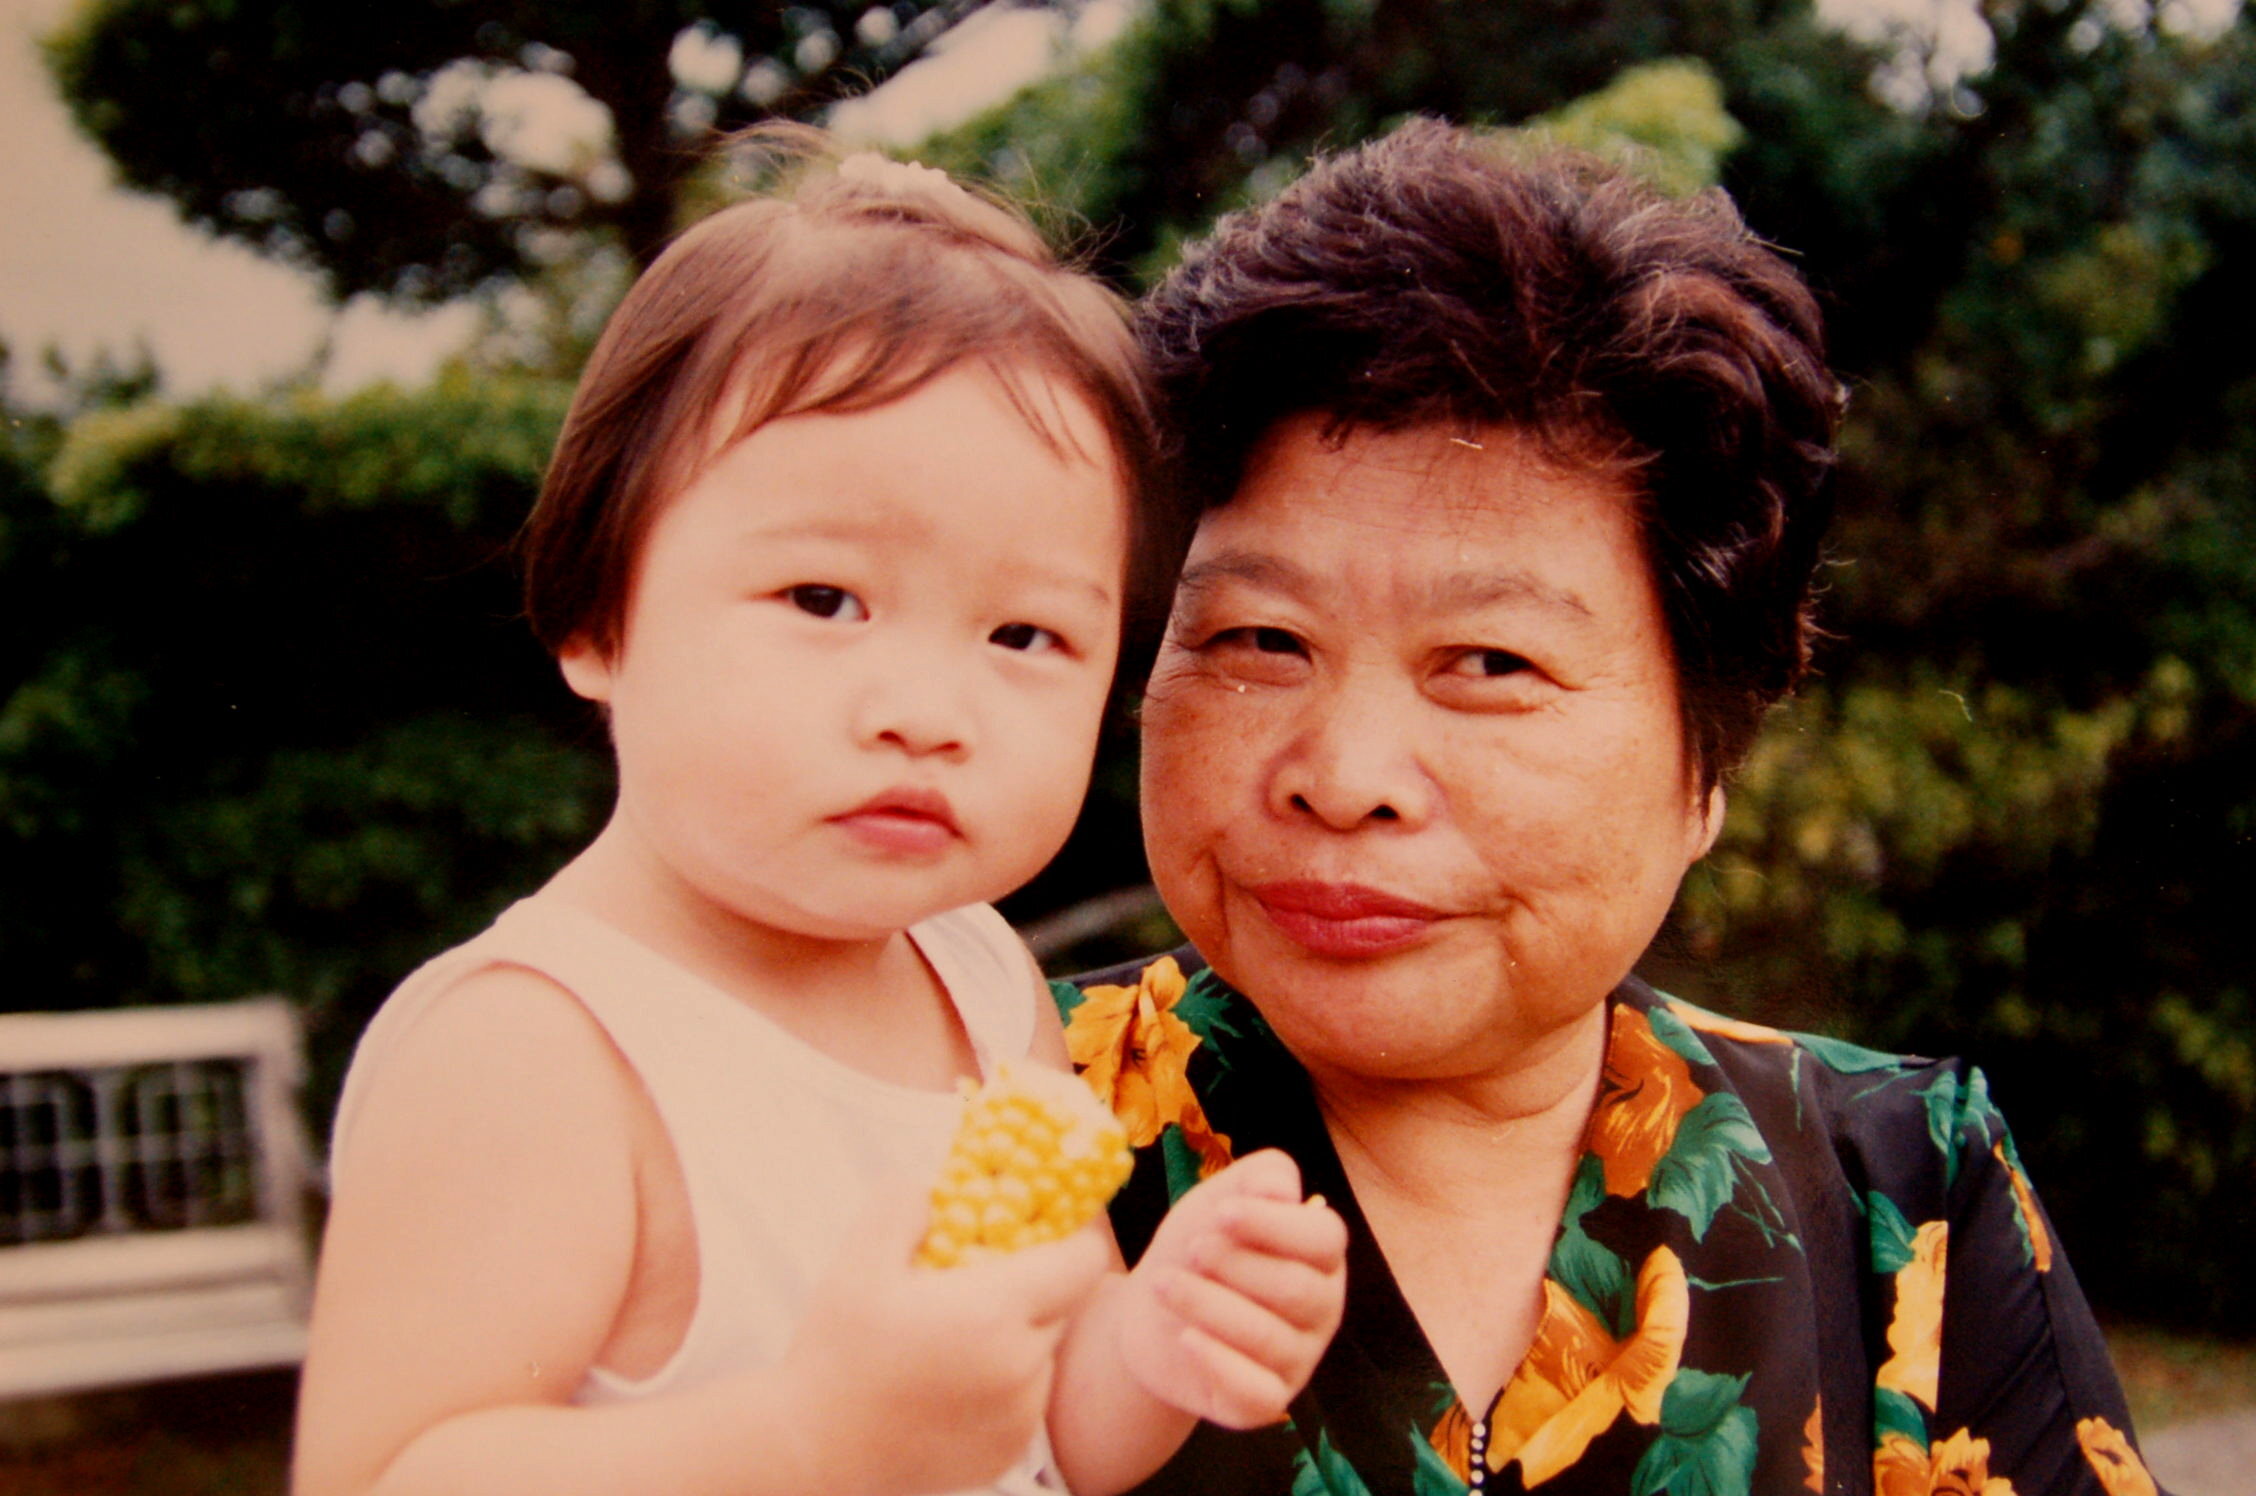
“My grandmother’s name is Hsu Chen Xiu, which translates to ‘Beauty of the Chen family’. She is the kindest, toughest lady I know. She became a mother figure at the age of six, raising her younger brother. She grew up in Taipei but after marrying my grandfather she moved to the south of Taiwan. There she had seven beautiful children of her own and has always been a helping hand to so many.
Growing up, my most vivid memory is her cycling on her red bike, the front basket full of food from the market, vegetables sticking out in every direction and both handles heavy with bags of poached goose (my grandfather’s favourite).
I would wave at her through the window and she would always give me the biggest brightest smile. She would rush through the door, glistening with sweat and instantly start preparing snacks for me and my grandfather and prepping lunch. Her friends would always come by, giving her the latest gossip in town, sipping tea and snacking on nuts.
Chao Mi Fen is my grandmother’s signature dish. It’s served at every occasion, from Chinese New Year to high school graduation and even for the neighbour’s son’s wedding. Every time I am back in Taiwan, my grandmother welcomes me home with a large bowl. The flavours are simple yet complex. There are a few things you must do; you have to use the best dried shiitake mushroom, find a rice vermicelli that is made from 100% rice, get sweet flat cabbage and most importantly, you must cook the dish with pork lard for that extra Taiwanese flavour.”
Chef Erchen Chen, Taiwan/UK
Ingredients
150g pork belly
4 cm of ginger, sliced
1 sprig of spring onion
1 tbsp shaoxing wine
250g thin rice vermicelli
2-3 thai shallot, thinly sliced
30g dried shrimps
50g dried shiitake mushrooms, rehydrated and sliced
2-3 tbsp pork lard
2-3 tbsp soy sauce
1 tsp mirin
50g carrot, julienned
250g flat cabbage, sliced
30g celery sticks, finely chopped
1 bunch of coriander
Method
Pork Belly Preparation
Blanch the pork belly in a pan of boiling water, once the water is brought back to boiling point, switch off the heat and discard the water.
Fill the pan with the blanched pork belly with cold water, a couple of sliced ginger, spring onion and a dash of Shaoxing wine. Bring to boil then turn the heat down to medium low heat. The water should be at a low simmer. Let it poach for 30mins, switch off the heat and let it rest for another 15mins with a lid on.
Take the pork belly out of the water and cover with cling film, let it cool down completely
Keep the poaching liquid aside for later use.
Once the pork belly has completely cooled down, slice the belly to 3mm slices.
Cooking the Vermicelli
Soak the rice vermicelli in cold water.
In a wok, fry the sliced shallot, dried shrimp, shiitake slices and sliced poached pork with pork lard on a high heat. Stir fry until golden and the shallots, shrimp and shiitake become fragrant.
Add the soy, mirin and carrot to the wok and let the flavours settle for a couple of minutes
Take out most of the ingredients out of the wok, leaving some cooked pork slices in. Add a bit more lard and stir fry the cabbage until cooked.
Drain the vermicelli properly and add to the wok. Add a bit of the pork belly poaching liquid and gauge if the vermicelli requires further cooking.
Season with soy and salt and add the rest of the stir fried ingredients back in.
Lastly garnish with finely chopped celery and fresh coriander.

Nonna Elsa’s Italian fior di latte gelato from Sophia Brothers
“My Nonna has always made everything from scratch, from rolling pasta out on the kitchen table to infusing lemon rind in alcohol for months on end to make the best limoncello I’ve ever tasted.”
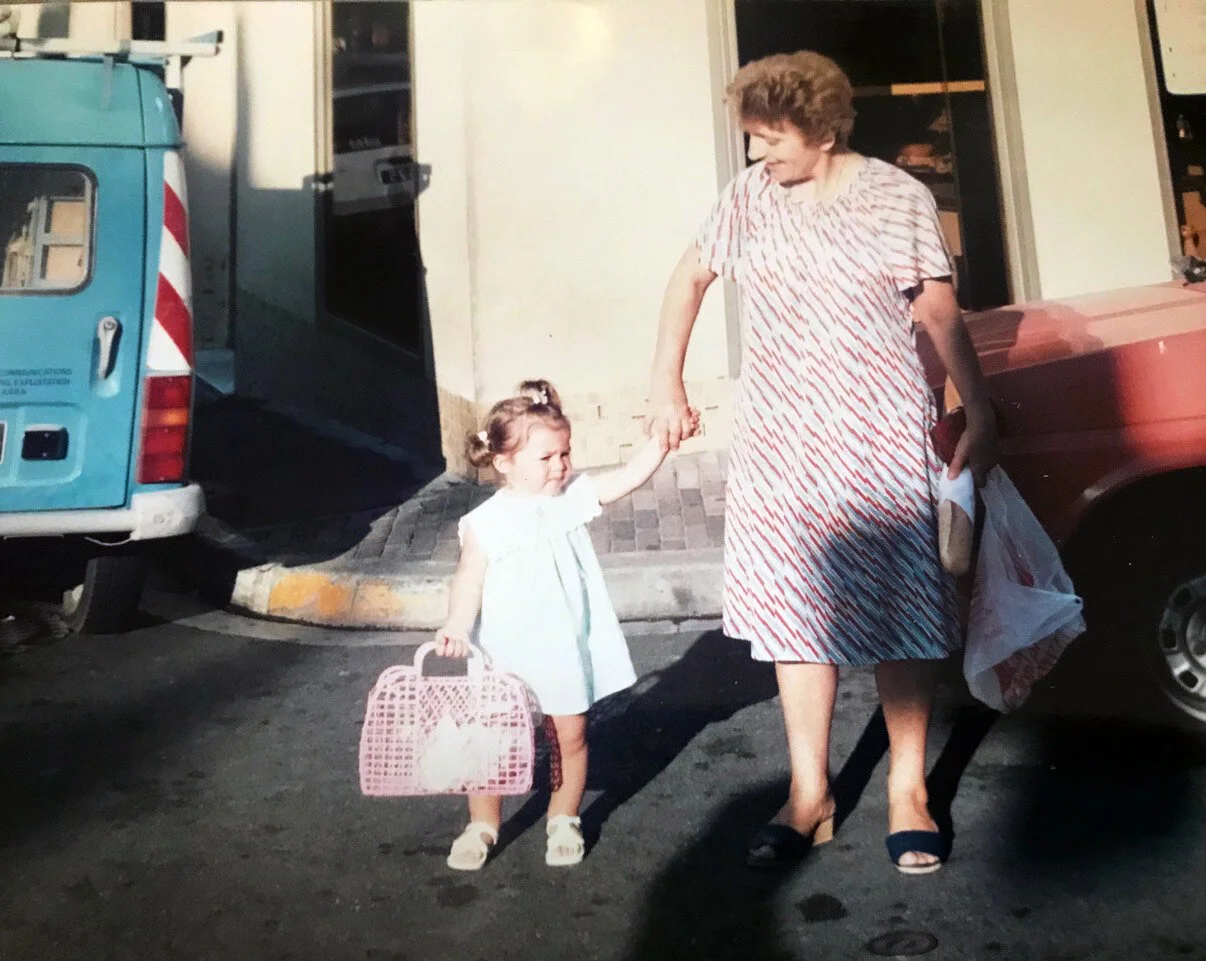
“My Nonna has always made everything from scratch, from rolling pasta out on the kitchen table to infusing lemon rind in alcohol for months on end to make the best limoncello I’ve ever tasted. She inspired me to start my own food business in London and make fine, Italian gelato.
While she sadly doesn’t cook anymore, I will forever remember her pottering around in the kitchen and watching her prepare endless feasts for all her family and four granddaughters. The smells and aromas that filled her Mediterranean kitchen will always be present. I am sharing her recipe for Fior di Latte gelato, a very traditional Italian milk flavour which literally translates as ‘Flower of Milk’. It is where I started when adapting and creating my own recipes. You’ll need a probe thermometer and plenty of ice to make an ice bath.”
Founder of Nonna’s Gelato Sophia Brothers, UK
Makes about 1 litre
Ingredients
650ml whole milk
120ml double cream
180g unrefined sugar
45g skimmed milk powder
1 tsp cornflour
Method
Place the milk and cream in a saucepan over medium heat. While it’s warming, place the sugar, skimmed milk powder and cornflour in a measuring jug and mix well.
Using a probe thermometer, measure the temperature of the milk and cream. When it reaches 40°C, add the dry ingredients. Whisk together and stir continuously with a heat proof spatula until it reaches 85°C.
Fill the sink with ice and cold water to create an ice bath. Plunge the saucepan into the ice bath and stir occasionally. You need to bring the temperature down to 10°C within 30 minutes.
When the mix is cooled, place in a sealed container and refrigerate for at least 4 hours, but preferably overnight.
You’re now ready to churn it into gelato. Start by passing it through a fine sieve.
Blitz with a hand blender.
Pour into your ice cream machine and churn until frozen.
Scoop your freshly churned gelato into a container and cover with greaseproof paper and a tight fitting lid. Place in the freezer and consume within one month.